This was so fun to do
and the end results last longer then a loaf of bread
(though having said that, I doubt this batch will last much past Christmas!)
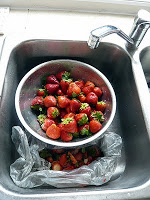
wash, and top your strawberries carefully
pop them in your biggest pan AFTER you've buttered it
like you would a cake tin (without the flour patting)
the buttering just stops it all sticking & makes washing up easier
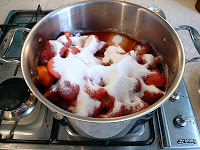
add 1/2 the strawberry's weight in sugar
you can use caster / jam or preserving sugar
preserving is best- but if you can't find it add a packet of "Jam Setta" if needs be
add a lemon for approximately every 250g of strawberries
(lemons help cut the sugar, and helps with the setting too)
some recipes call for a lemon's zest too
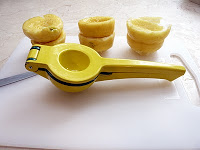
These lemon sqeezies are the best!
easy peasy lemon squeezy...
I was given 2 last year for Christmas,
and have enough love and use for both of them.
(it helps that I don't like to wash up)
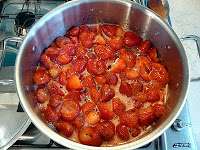
add no more than an inch of water, and slooowly cook it.
The slower it cooks, the more pectin (natures setting agent) come out of the fruit also, stir AS LITTLE as possible... you want those chunks.
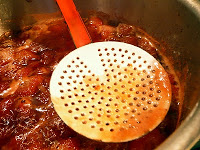
No stirring, but as you go along you will need to 'de-scum' the jam
a frothy white surface will form on the jam
use a slotted spoon to gather in to one place and skim it off.
(it doesn't look good in the jar & has a different texture.)
Meanwhile, you need to serialize your jam jars
a few theories - some say the top shelf of the dishwasher on HOT works, as long as they are used HOT fresh out the dish washer.
I did this (a re wash)...
and then put them in the oven for bake at 180C for a minimum of 20 minutes...
(again, take them out as you need them keeping the rest hot)
better safe than sorry with bacteria and all that.
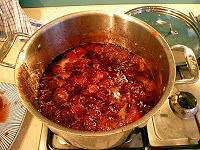
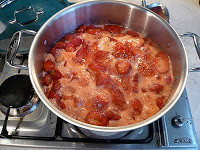
after 45 minutes of slow cooking the strawberries,
its time to 'set up' the jam fast boil them for 10 minutes,
and then 'wrinkle test' it:
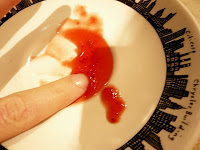
pop a plate in the freezer,
and when its cold add one teaspoon of the hot jam to it
see if it set.
It should (after it cools) wrinkle a little like this crappy picture
if it doest turn the heat back up, fast boil for another 5-10 minutes and try again.
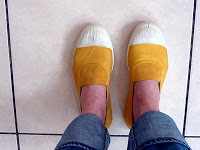
I also wore bright happy yellow granny shoes while I cooked to help things along. I'm almost certain they made a difference.
Its been 4 days since I made the Jam and we've already started on our second jar...


 Whenever I say “Pizza on the BBQ”

 Now turn the BBQ on its top temperate and it’s time to prep your toppings:
 Get fancy, use fresh tomatoes, red peppers, chillies, more garlic a bit of red wine and some lemon juice. Use your blender stick to smooth it out.
 Now this happens very quickly…
 Quickly press all the way around the outside edge of the dough (thought the paper) so it sticks to the grill, and then peel away the paper. Close the lid and give it 2 minutes to cook.
  Lifting it off the BBQ at this stage is one of the trickiest steps: It’s a swift, confidence of movement that helps – hesitate and it will break apart…


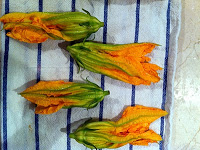 take the flowers out the fridge a long time before you need them
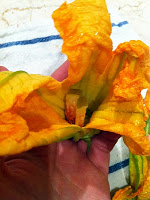
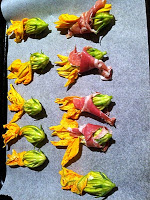 On a baking sheet, some of them were given prosciutto belts to wear... which I'll admit is cheating. Like deep frying something, wrapping it it bacon is totally cheating - of course its going to taste great!
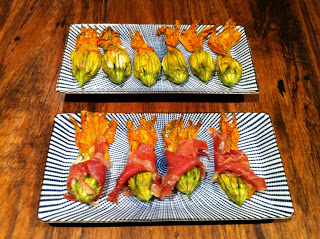
 Asides from grinning from ear to ear
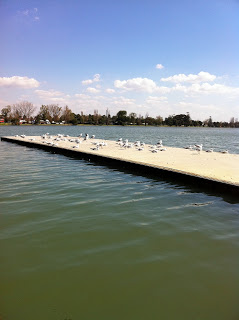
 Floating across the Lake in the middle of Albert Park makes getting from one side to the next a 2 minute task rather than a good 20 minutes. Little plastic squares that fit together like Lego & float. Awesome!
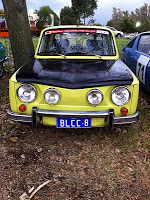

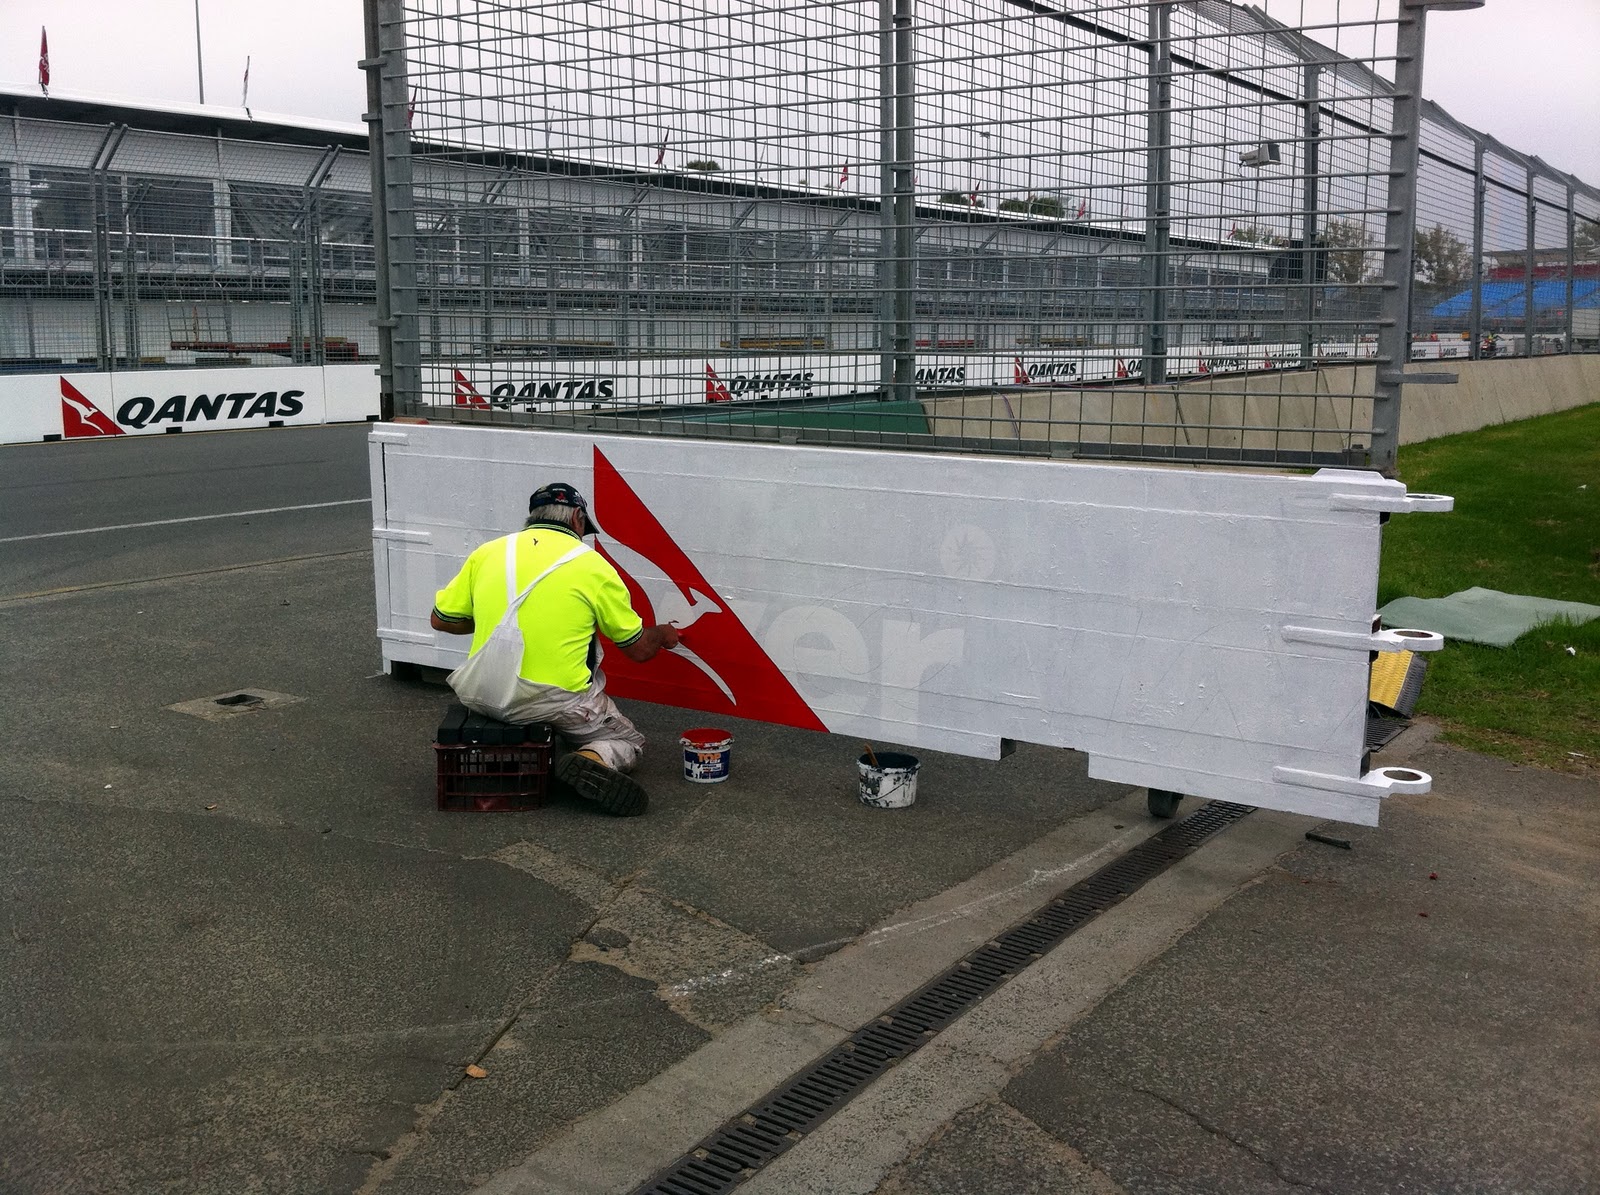


 These guys are one of my first memories of Melbourne...

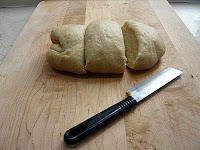
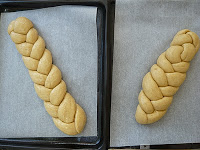
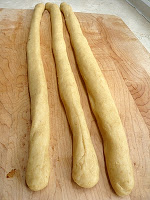 split this ball into 3 equal chunks then roll them out, just a little longer than your baking tray.
 Then proceed to braid them as you would hair... so start with the left most rope and go over the first rope and under the second (moving to the right). Repeat till you run out of dough & tuck this end under too.
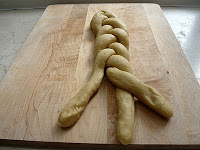
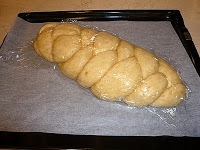 Lastly egg wash & bake, which is step 6 in the recipe from Disney